
Property photos need to do three things: attract attention among competing listings, explain the home clearly and create enough confidence for a buyer to want to take the next step. Good real estate photos should make the property easier to understand before a buyer ever books a viewing.
A good camera alone cannot achieve that. Preparation, natural light, perspective, composition, image order and editing all have a major influence on how a property is perceived.
Good real estate photos should never try to turn a property into something it is not. Their job is to make sure the home's genuine strengths are visible, understandable and difficult to overlook.
Key area
Preparation
What to do
Tidy, clean and remove visual distractions
Key area
Light
What to do
Use natural light and choose the right time of day
Key area
Format
What to do
Shoot primarily in landscape orientation
Key area
Perspective
What to do
Keep walls and vertical lines straight
Key area
Wide angle
What to do
Show space without exaggerating room size
Key area
Composition
What to do
Explain the layout, not only the decoration
Key area
Lead photo
What to do
Use one of the property's strongest visual features
Key area
Selection
What to do
Avoid repetitive images
Key area
Sequence
What to do
Create a logical visual tour
Key area
Editing
What to do
Improve presentation without changing reality
| Key area | What to do |
|---|---|
| Preparation | Tidy, clean and remove visual distractions |
| Light | Use natural light and choose the right time of day |
| Format | Shoot primarily in landscape orientation |
| Perspective | Keep walls and vertical lines straight |
| Wide angle | Show space without exaggerating room size |
| Composition | Explain the layout, not only the decoration |
| Lead photo | Use one of the property's strongest visual features |
| Selection | Avoid repetitive images |
| Sequence | Create a logical visual tour |
| Editing | Improve presentation without changing reality |
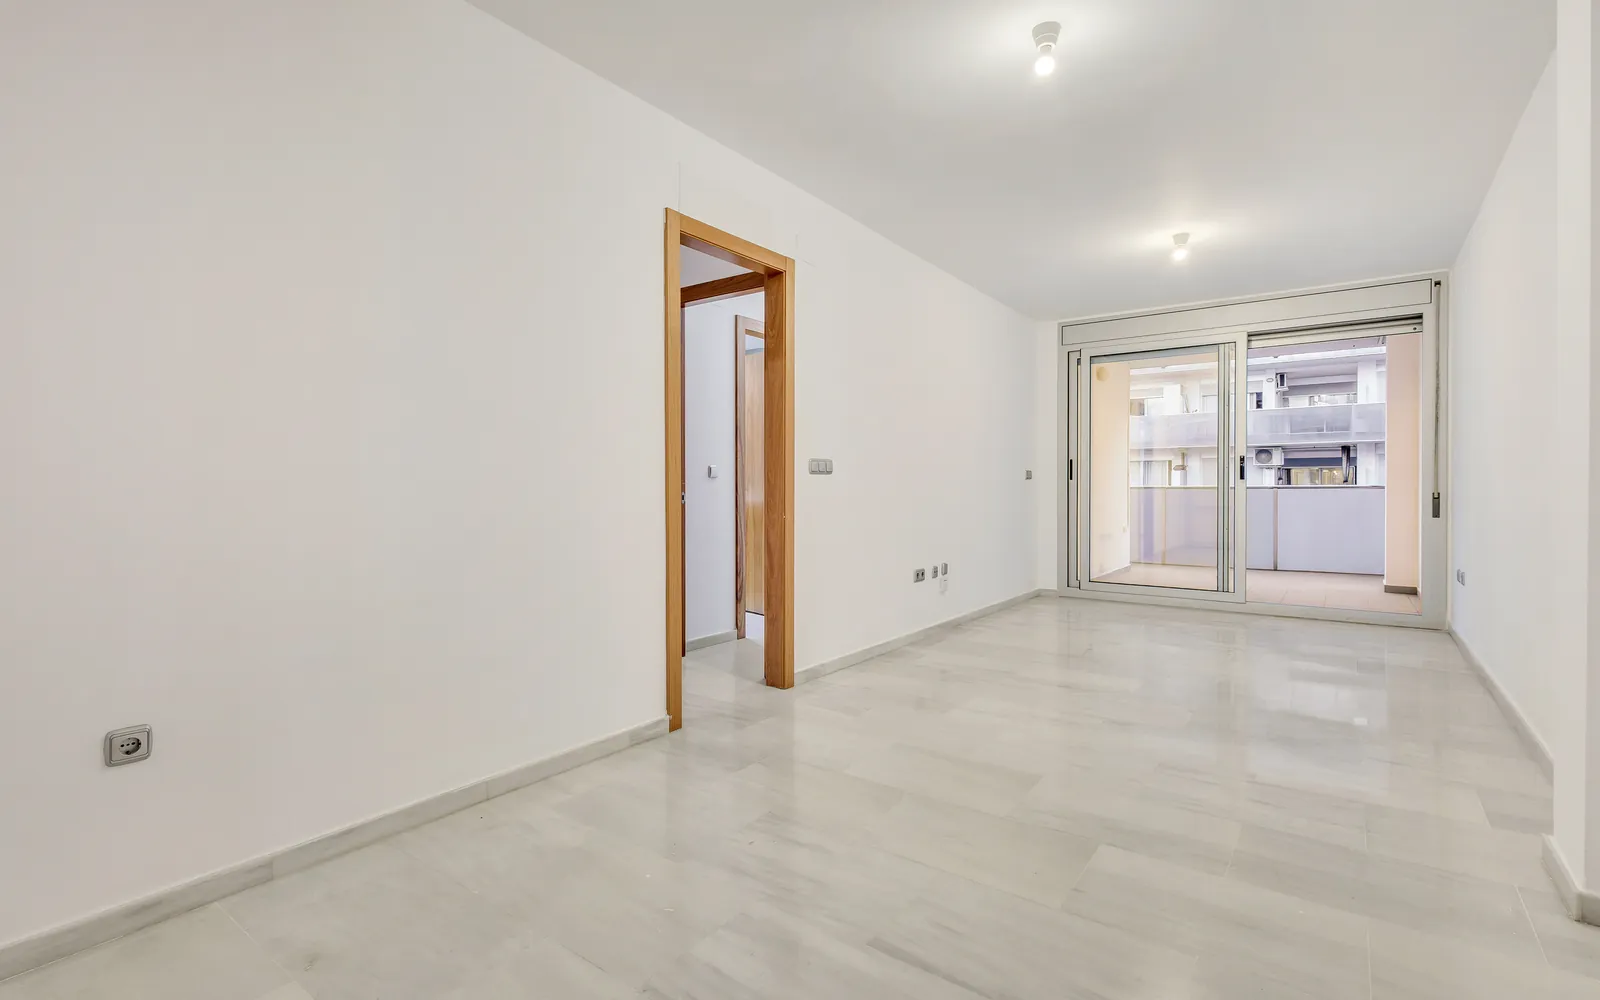
1. Prepare the property before taking photographs
One of the clearest differences between improvised listing photos and a carefully produced property shoot is often what sits in front of the camera.
Crowded worktops, visible cables, toiletries, clothes and everyday objects create visual noise. They can also make rooms feel smaller and more difficult to understand.
Before photographing the home, walk through it as if you were a buyer seeing it for the first time.
The aim is not to strip the property of personality or make it look artificially staged. It is to simplify the visual scene so the architecture, light and layout can become the focus.
Clear tables, prepare beds, reduce clutter in kitchens and bathrooms and make sure terraces, gardens and pool areas are ready to be seen.
A well-prepared property does not only look better. It is easier to understand.
2. Depersonalise without making the home feel empty
Depersonalising a property does not mean removing every decorative object.
Plants, lamps, furniture and carefully chosen details help communicate scale and make a home feel lived in.
What usually needs to be reduced are highly personal elements that do not help present the property: family photographs, documents, medication, clothes and excessive collections.
The goal is to keep enough character for the home to feel inviting while leaving enough visual space for a buyer to imagine themselves living there.
3. Choose the right time of day
Light can dramatically change the appearance of a property.
Whenever possible, the shoot should be planned around the orientation of the home and the spaces that matter most.
An east-facing terrace and a west-facing terrace will not look their best at the same time of day.
On the Costa Blanca, where terraces, pools, views and outdoor living are often major selling points, timing can have a particularly strong effect on the final photography.
4. Make natural light work for the property
Open blinds and curtains and make the most of daylight.
Then assess whether the interior lighting improves or complicates the scene. Different bulb temperatures can create inconsistent yellow, green or blue areas.
Windows also create one of the main technical challenges in real estate interior photography.
If the camera exposes only for the room, the exterior can become completely white. If it exposes only for the view outside, the interior may become too dark.
Professional technique and controlled editing help retain information in both areas while keeping the result natural.
5. Keep vertical lines vertical
Leaning walls immediately make property photography feel less controlled.
When a camera is tilted up or down, vertical lines begin to converge and the room can look distorted.
Keeping the camera level and choosing an appropriate height helps create a more natural perspective.
There is no single perfect camera height for every room. The objective is consistency and a believable representation of the space.
6. Use wide-angle lenses without exaggerating the room
A moderate wide-angle lens is extremely useful for property photography because it helps explain space and relationships between rooms.
An excessively wide field of view can stretch furniture at the edges and make a small room appear much larger than it really is.
That may increase clicks, but it can also create disappointment when a buyer arrives for a viewing.
The best property photography balances attractiveness with an accurate sense of scale.
7. If you use a phone, control the basics
Modern smartphones can produce very good listing photographs when used carefully.
Clean the lens, use the grid to keep the camera level, avoid digital zoom and use the main camera whenever the room allows it.
The ultra-wide camera can help in very small bathrooms or kitchens, but using it everywhere can create unnatural proportions.
Take several versions of important compositions so you can later choose the sharpest and most balanced result.
8. Find the angle that explains the room
There is no single corner that works for every room.
Walk around the space and decide which position makes the layout easiest to understand.
A corner view often creates depth by showing two walls, while a more frontal composition can work better for symmetrical kitchens, large windows or strong architectural features.
From where would someone who has never entered this room understand it best? That is a more useful question than simply trying to make it look as large as possible.
9. Real estate photos should explain the living room clearly
The living room is often one of the most important parts of a property listing.
Its main photograph should explain the space and, when relevant, its relationship with the dining area, kitchen, terrace or exterior.
A second angle should add information rather than repeat the same view.
If the room has large windows or an attractive view, include them in the composition whenever possible.
10. Make kitchens and bedrooms easy to understand
Kitchen photography should explain layout, usable worktop space and the relationship with adjacent rooms.
Clear surfaces help the viewer understand the kitchen rather than the collection of objects sitting on it.
In bedrooms, the bed normally defines the room visually. Prepare the bedding carefully and choose an angle that shows both the bed and the circulation space around it.
If a bedroom has an en-suite bathroom, private terrace, fitted wardrobes or a view, the listing photography should communicate those features clearly.
11. Bathrooms need special attention
Bathrooms combine small dimensions, mirrors and reflective surfaces, which makes them particularly easy to photograph badly.
Remove personal products, clean mirrors and shower screens, prepare the towels and check reflections before taking the photograph.
Then choose a position that explains the main features without relying on an extreme ultra-wide perspective.
12. Terraces, pools and views can be decisive
On the Costa Blanca, outdoor spaces can be among the strongest reasons to choose one property over another.
A terrace, private pool, garden or sea view should therefore not be treated as secondary content.
Prepare outdoor furniture, remove unnecessary objects and choose a time when the space looks inviting.
When a view matters, show it in context. A photograph of the sea says there is a view. A photograph showing the terrace with the sea beyond it explains what that view actually feels like from the property.
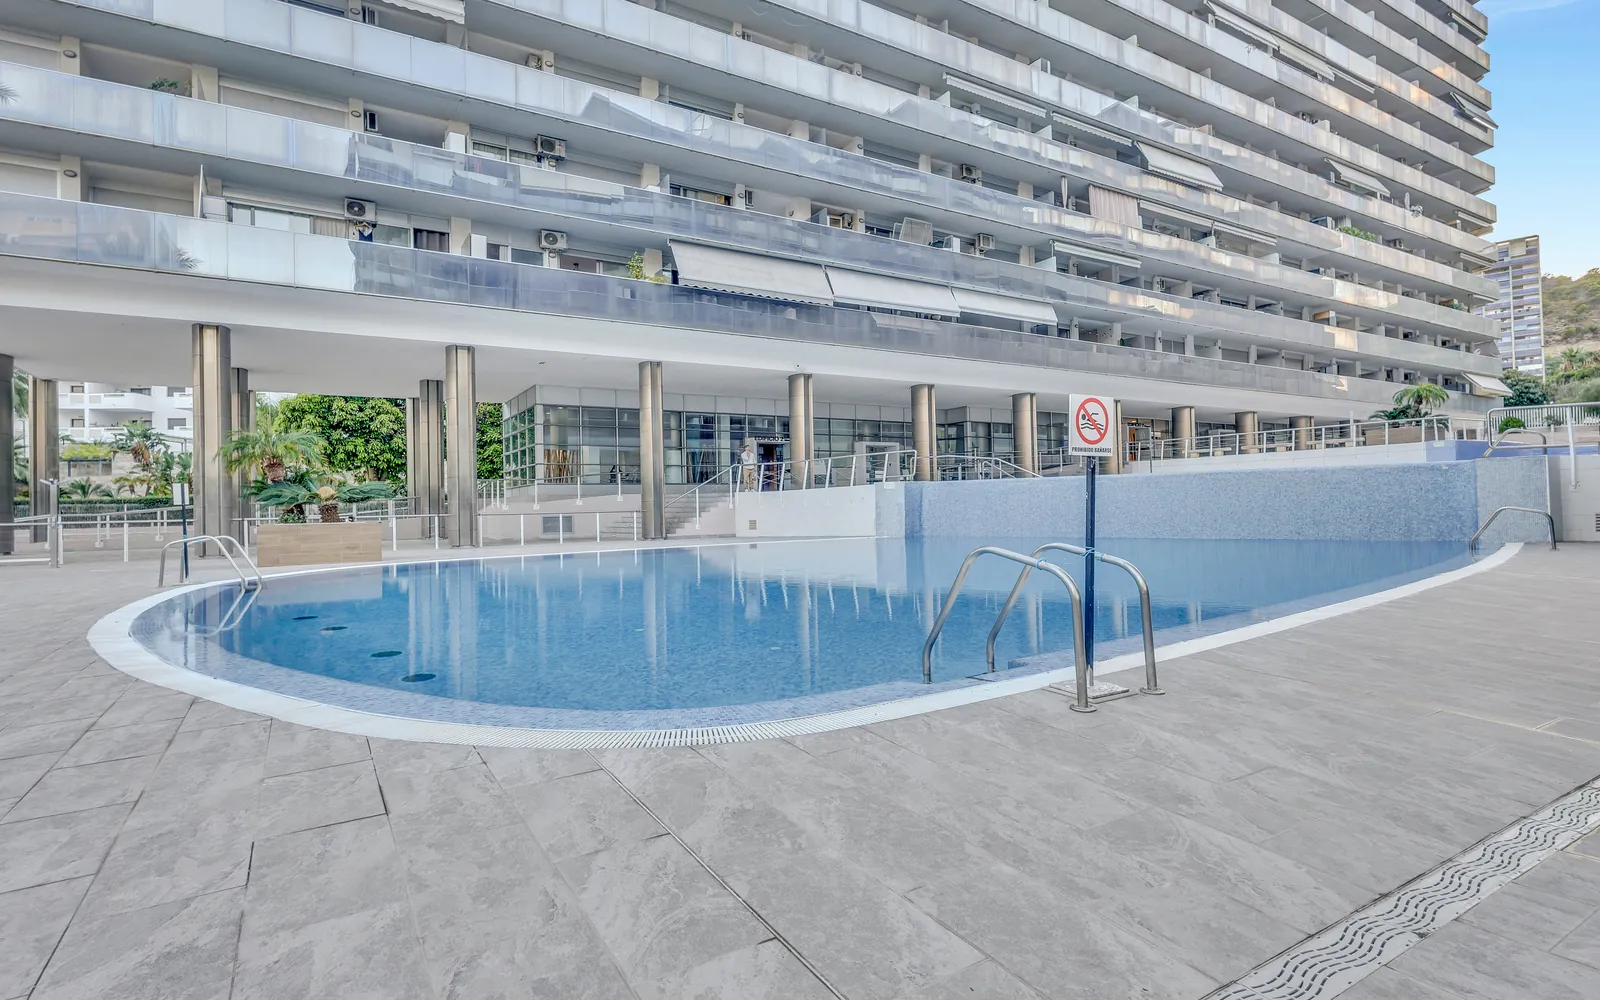
13. How many property photos should a listing have?
There is no universal number.
A one-bedroom apartment needs far fewer photographs than a villa with several bedrooms, terraces, a pool, garden and communal areas.
For many complete residential listings, around 20 to 30 different photographs can be enough to explain the property without repeating essentially the same image.
A simpler rule is even more useful: every photograph should add information.
14. Choose the lead image strategically
The first image is responsible for earning attention while buyers compare multiple listings.
It does not always need to be the living room.
For one property it may be a sea-view terrace. For another, a pool, architecture or an exceptionally attractive main living space.
Ask which visual feature gives someone the strongest reason to open the listing. That image belongs near the beginning.
15. Build a logical visual tour
After the strongest opening images, the rest of the listing should feel like a visit through the property.
Constantly jumping from bedroom to pool, then bathroom, then back to the living room makes the home harder to understand.
Group related spaces and create a logical sequence.
Property photos are not only individual images. Together they should explain how the home works.
16. Exterior photography and drone imagery can add context
Buyers do not purchase only the rooms inside a property.
The building, access, communal areas, plot, garden and relationship between the property and its surroundings may all matter.
When location or plot size is important, real estate drone photography can provide context that ground-level photography cannot.
The objective is not to add aerial images simply because they look impressive. They should explain something useful about the property.
17. Edit the photographs without changing the property
Editing is part of professional property photography.
Exposure, colour, verticals and lens distortion can all be refined while maintaining a natural result.
The boundary is crossed when permanent features are changed, defects are hidden or views and dimensions are manipulated.
The objective is to present reality at its best, not replace it.
18. Smartphone or professional real estate photographer?
A smartphone may be sufficient for a straightforward, well-lit and carefully prepared property.
The difference becomes much clearer when conditions are difficult: dark interiors, bright windows, small rooms, mixed lighting, exterior views or large properties that require a consistent visual style across many images.
Professional work is not simply about owning a better camera. It is about solving those problems repeatedly and consistently.
19. When does professional property photography make sense?
The greater the value of the property, the competition in its market or the importance of making a strong first impression, the more sense professional photography makes.
For real estate agencies there is another factor: every listing also communicates the quality of the agency itself.
Consistent professional photography across multiple properties can become part of the agency's visual identity and can influence not only buyers but also homeowners deciding who should market their property.
You can explore our real estate photography service, review our guide to real estate photography prices in Alicante or see original work in our real estate portfolio.
Good property photography does not change a home. It makes its value visible.
Photography cannot change a property's floor area, orientation or location, and it should not try to.
Its job is to make sure buyers understand the light, spaces, terraces, views, layout and surroundings that already exist.
When a photographic report achieves that, it stops being a collection of images attached to a listing.
It becomes the buyer's first viewing.
The Eves Media works with agencies, developers and property owners across Alicante and the Costa Blanca, including Torrevieja, Orihuela Costa, Guardamar del Segura, Ciudad Quesada and surrounding areas.